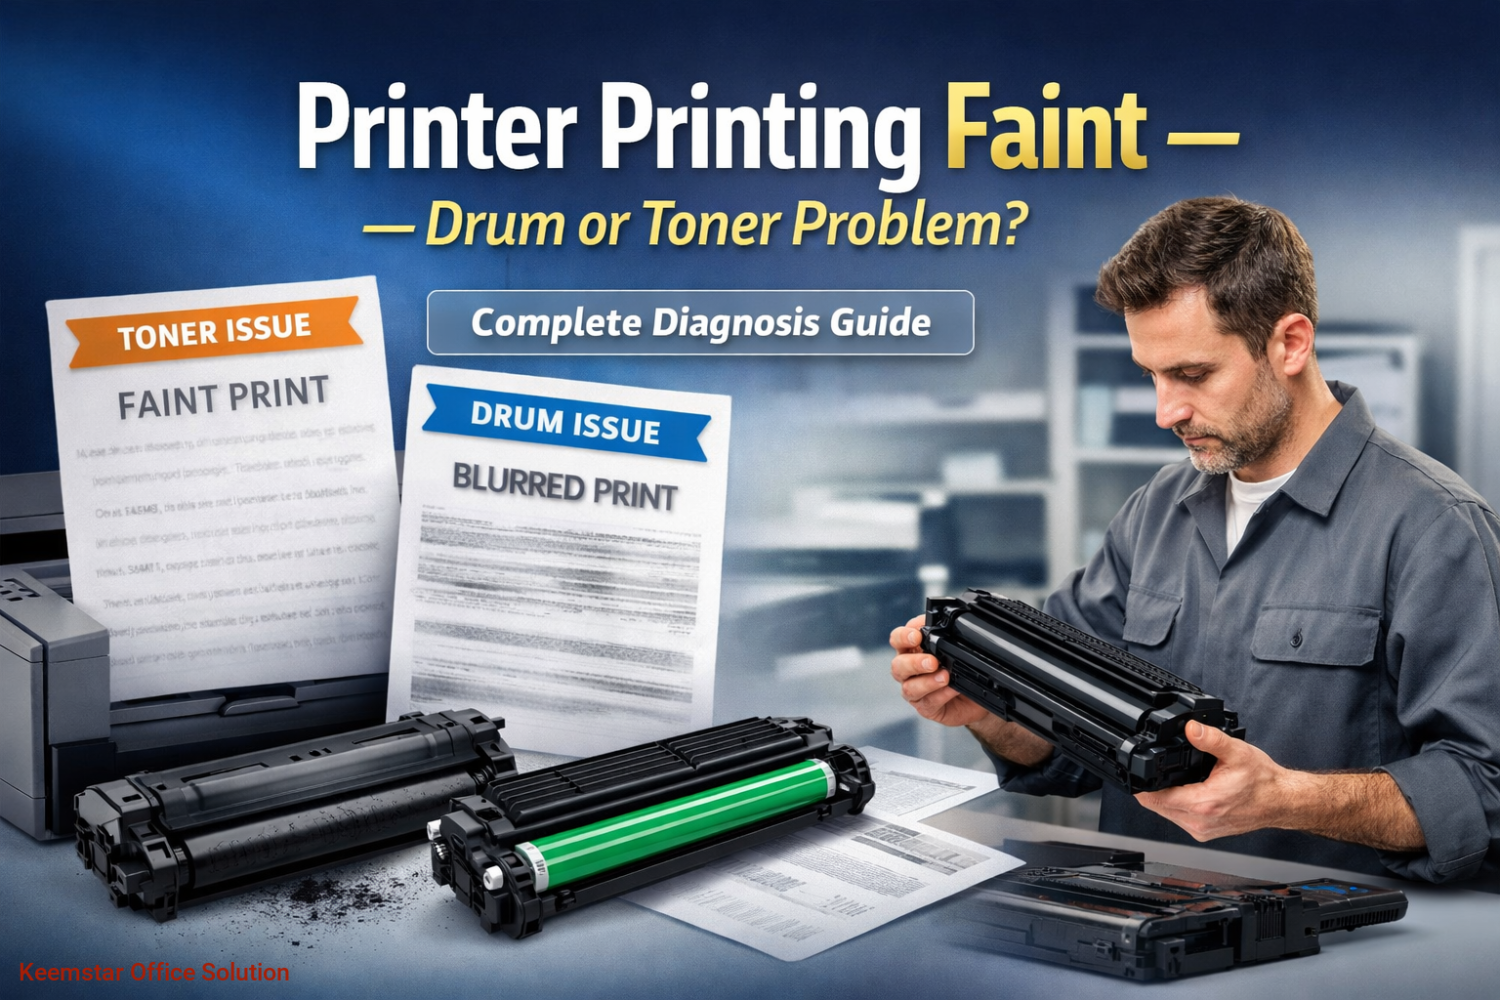
Printer Printing Faint — Drum or Toner Problem?
If your printer is producing faint prints, light text, washed-out images, or inconsistent density, you’re dealing with one of the most common print-quality issues in offices, schools, and print shops.
The key question technicians and users ask is:
? Is it the toner or the drum?
Understanding the difference can save money, reduce downtime, and prevent replacing the wrong part.
This guide explains everything — causes, diagnosis, differences, fixes, and when to replace each component.
1️⃣ What “faint printing” actually means
Faint printing is not just “light ink.” It refers to:
-
Light text
-
Missing areas on page
-
Unevenshading
-
Washed-out images
-
Pages that look grey instead of deep black
-
First page darker than next pages
-
Density fading during long print runs
This usually indicates a density transfer problem inside the print engine.
In laser printers, density depends on:
-
Toner supply
-
Drum condition
-
Developer (in some models)
-
Charge system
-
Transfer process
-
Fuser performance
But in 80% of cases, the issue is toner or drum.
2️⃣ How a laser printer creates dark prints (simple explanation)
Understanding the process makes diagnosis easier.
Basic sequence:
-
Drum gets electrostatic charge
-
Laser writes image on drum
-
Toner sticks to image area
-
Toner transfers to paper
-
Fuser melts toner into paper
If any stage fails → faint prints.
Most faint problems occur in stage 2 or 3.
That’s why drum vs toner is the main decision.
3️⃣ Signs the problem is TONER ✅
Toner issues are the most common cause.
✔ Classic toner symptoms
-
Entire page light
-
Printing improves after shaking cartridge
-
Pages fade during long print runs
-
Low toner warning appears
-
New cartridge fixes instantly
-
Density inconsistent page to page
-
Grey text instead of black
✔ Why toner causes faint prints
-
Cartridge nearly empty
-
Toner distribution uneven
-
Low-quality compatible toner
-
Toner humidity damage
-
Toner formulation mismatch
-
Blocked toner supply inside cartridge
Very common in compatible toners.
4️⃣ Signs the problem is DRUM ✅
Drum problems create different patterns.
✔ Classic drum symptoms
-
Repeating faint patterns
-
Certain areas lighter than others
-
Background grey + faint text
-
Ghosting + faint print together
-
Faint prints even with new toner
-
Prints worse over time
-
Visible drum wear / scratches
Drum issues are more gradual.
5️⃣ Toner vs Drum — quick comparison
| Factor | Toner Problem | Drum Problem |
|---|---|---|
| Entire page light | ✅ Very common | Sometimes |
| Improves after shaking | ✅ Yes | ❌ No |
| Repeating pattern | ❌ Rare | ✅ Common |
| New toner fixes | ✅ Yes | ❌ No |
| Happens suddenly | ✅ Yes | ❌ Usually gradual |
| Visible physical wear | ❌ | ✅ Often |
This table alone solves most diagnosis cases.
6️⃣ The most common real-world cause (important)
In real service environments:
? 70% toner
? 20% drum
? 10% other components
Meaning always check toner first.
This prevents unnecessary drum replacement.
7️⃣ Why compatible toner causes faint printing more often
This is a huge topic in Kenya and globally.
Reasons:
-
Incorrect toner density formulation
-
Poor magnetic properties
-
Cheap powder grain size
-
Weak pigment concentration
-
Cartridge design differences
-
Storage issues
Result → lighter prints even when “full.”
That is why many businesses experience faint prints right after installing compatible toner.
8️⃣ How to diagnose step-by-step (technician method)
Step 1 — Print configuration page
This bypasses drivers.
If faint → hardware issue.
Step 2 — Shake toner cartridge
If density improves → toner issue.
Step 3 — Increase print density setting
If improves → toner supply problem.
Step 4 — Replace with known good toner
Fastest diagnostic method.
Step 5 — Inspect drum visually
Look for:
-
Dull surface
-
Scratches
-
Lines
-
Worn coating
Step 6 — Stop print mid-cycle test
Check image on drum before fuser.
If image faint on drum → toner/developer issue
If image strong on drum but faint on paper → transfer/fuser issue
Advanced but very accurate.
9️⃣ Other causes people confuse with toner/drum
Important for SEO + education.
Sometimes faint printing is NOT either.
Possible causes:
-
Developer worn (Kyocera / Ricoh)
-
Charge roller dirty
-
Laser window dirty
-
Transfer roller worn
-
Economy mode enabled
-
Paper humidity
-
Wrong paper type setting
-
Fuser temperature issue
-
HV power supply issue
But these are less common than toner/drum.
? Model-specific reality (very important)
Different brands behave differently.
Kyocera
Often developer + drum interaction
Faint prints common after high page count
Ricoh
Developer + drum very common cause
HP / Canon
Toner cartridge most common cause
Konica
Drum + developer combo frequent
Knowing brand pattern speeds diagnosis.
1️⃣1️⃣ How long toner lasts (real expectation)
Typical ranges:
-
Small printer: 1k–3k pages
-
Office printer: 5k–15k pages
-
Photocopier: 20k–80k pages
Faint printing often starts near end of life.
1️⃣2️⃣ How long drum lasts
Typical:
-
Small printers: 10k–30k pages
-
Office printers: 50k–120k
-
Copiers: 100k–300k+
Drum failure is slower.
Gradual decline is key sign.
1️⃣3️⃣ Why faint prints sometimes appear suddenly
Common triggers:
-
New cheap toner installed
-
Toner exposed to humidity
-
Printer unused for long time
-
Toner clumping
-
Developer separation
-
Transport vibration
Sudden faint print → usually toner.
1️⃣4️⃣ Business impact of ignoring faint printing
Many companies delay replacement.
Consequences:
-
Reprints increase cost
-
Professional image suffers
-
Staff productivity drops
-
Customers notice quality
-
Machine stress increases
-
Drum damage worsens
Faint printing is not cosmetic — it’s operational.
1️⃣5️⃣ How to fix faint printing (fast checklist)
Quick fixes
-
Shake toner
-
Disable economy mode
-
Clean laser window
-
Increase density setting
-
Print 20–30 pages (redistribute toner)
If not fixed
-
Replace toner
-
Check drum
-
Check developer
-
Check rollers
Always follow sequence.
1️⃣6️⃣ When to replace toner immediately
Replace if:
-
Low toner warning + faint prints
-
Shaking improves print temporarily
-
New toner fixes instantly
-
Compatible toner causing issue
Do not delay — toner affects productivity most.
1️⃣7️⃣ When to replace drum
Replace if:
-
New toner doesn’t fix faint prints
-
Repeating faint patterns
-
Drum page count reached limit
-
Visible wear
-
Grey background + faint text
-
Developer replaced but issue remains
Drum replacement is a lifecycle decision.
1️⃣8️⃣ Preventing faint printing (maintenance strategy)
This is where businesses save money.
Best practices:
-
Use quality toner
-
Store toner properly
-
Avoid humidity
-
Run periodic prints
-
Follow maintenance schedule
-
Replace drum on time
-
Clean machine internally
-
Use correct paper settings
Preventive maintenance reduces faint issues dramatically.
1️⃣9️⃣ Technician insight (advanced but important)
Experienced technicians rarely guess.
They evaluate:
-
Installed base history
-
Page count vs part lifecycle
-
Toner brand quality
-
Pattern consistency
-
Density test prints
-
Internal component condition
Diagnosis is pattern recognition.
2️⃣0️⃣ Final answer — drum or toner?
Most cases:
? Sudden faint → TONER
? Gradual faint → DRUM
? Improves after shaking → TONER
? Pattern / repetition → DRUM
? New toner fixes → TONER
? New toner doesn’t fix → DRUM
That rule solves majority of situations.
Conclusion
Faint printing is one of the most common printer problems, but it is also one of the easiest to diagnose when you understand the difference between toner and drum.
Toner issues are more frequent, appear suddenly, and often resolve quickly with replacement. Drum problems develop gradually, create patterns, and require lifecycle replacement.
For businesses, technicians, and organizations, correct diagnosis reduces downtime, avoids unnecessary spending, and ensures consistent print quality.
Instead of guessing, follow a structured approach:
Check toner first.
Then evaluate drum.
Then investigate other components.
That simple sequence solves most faint print problems efficiently.
Recent Posts
Our Policies
Complete Office Printing Solutions — Toners, Spares, Printers & Copiers